Getting Started
This guide will walk you through the initial steps of setting up your organization, creating a project, and starting with data modeling in ContentGrid.
1. Create an Organization
Before you can create a data model, you need to have an organization.
- On the main page, click the Create Organization button.
- Follow the prompts to set up your organization.
If you already have an organization, you can skip this step.
2. Create a Project
Once your organization is set up:
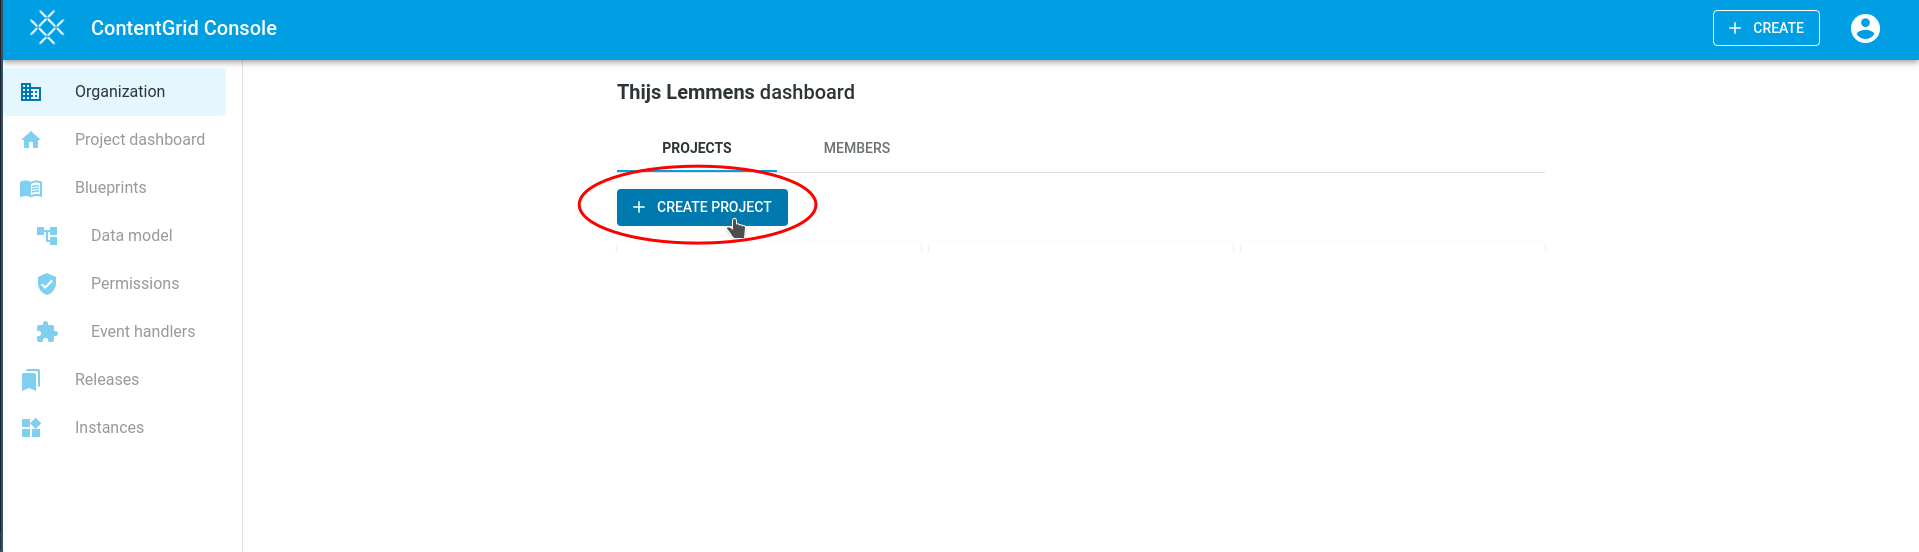
- Navigate to your organization page.
- Click the Create Project button.
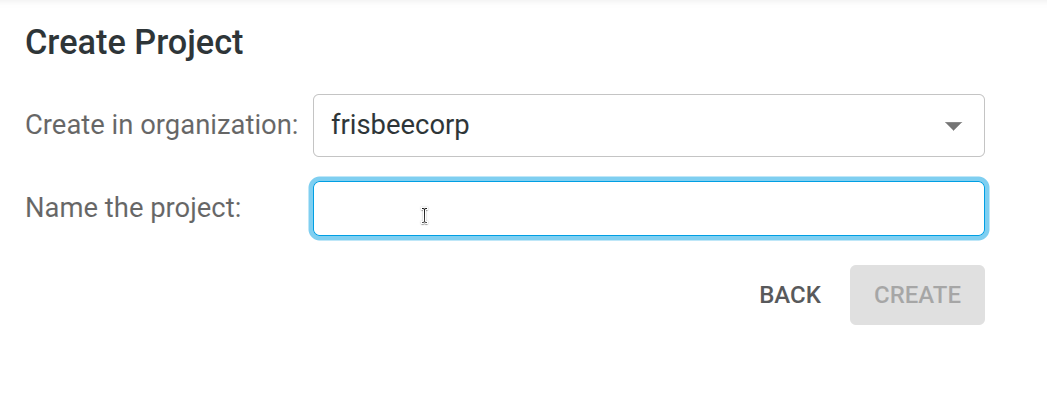
- In the dialog, enter a name for your project and confirm.
3. Start Data Modeling
Now you can begin modeling your data:
- Click the Add Entity button to start creating your first entity.
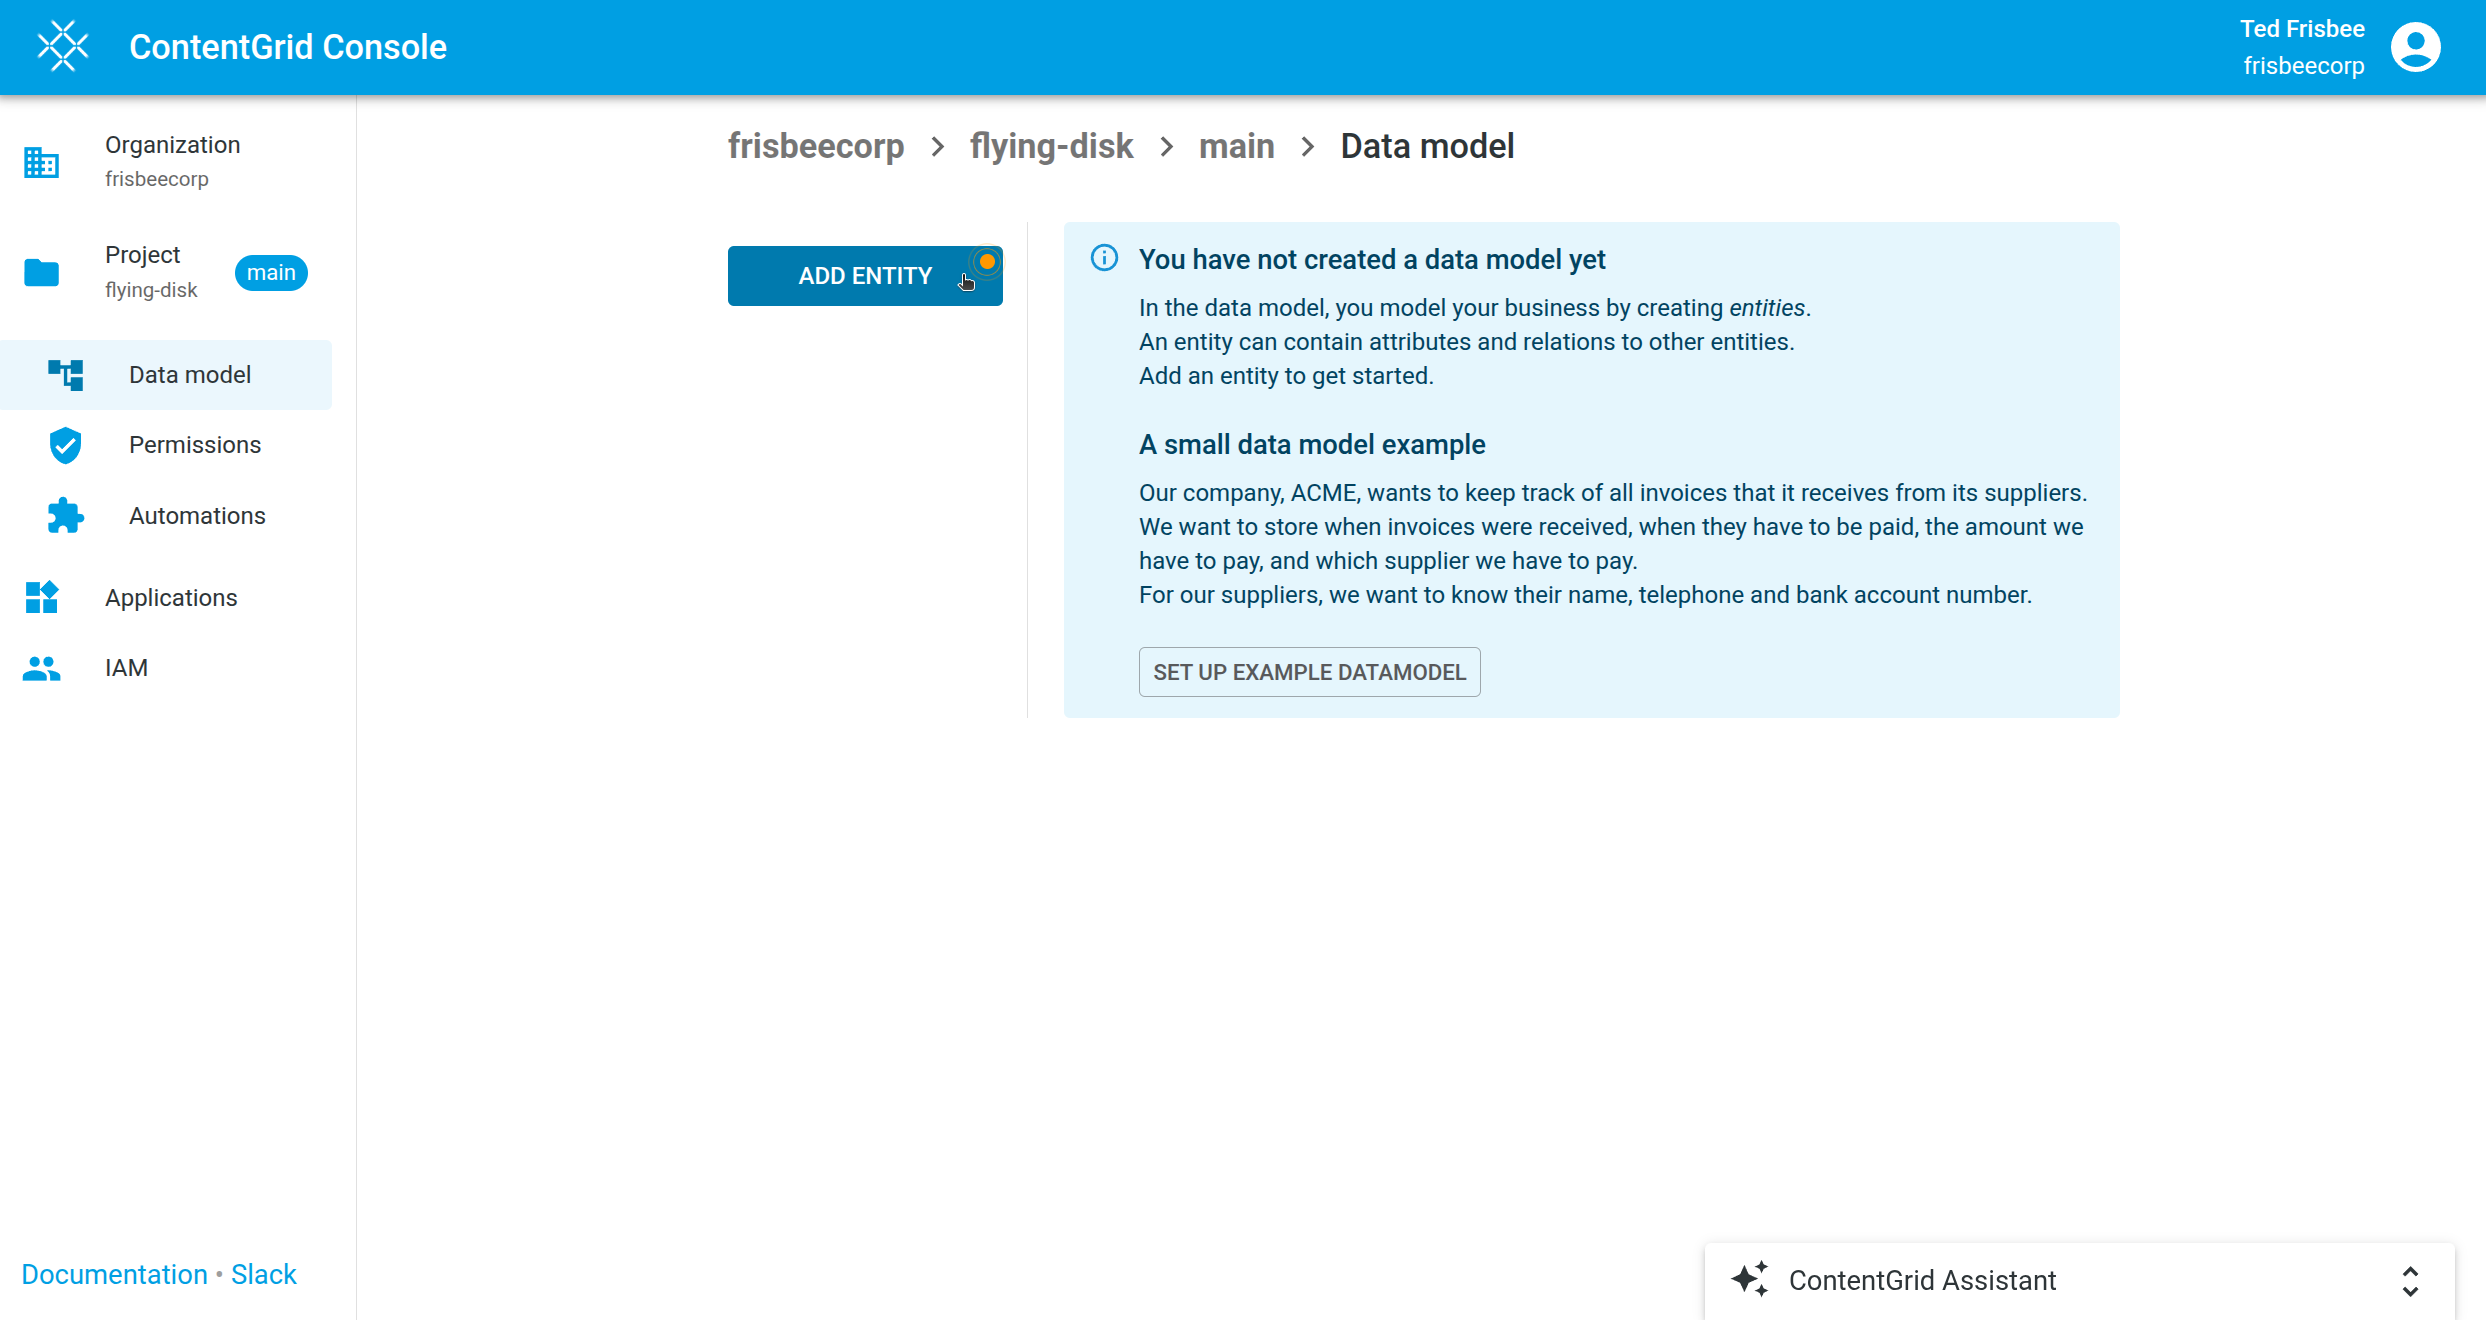
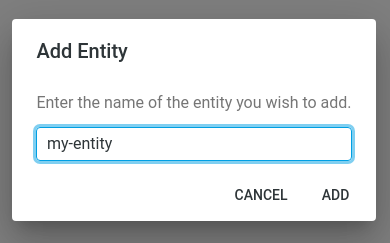
- In the Data model tool, you can model your business entities. Click Add Entity, provide a name, and optionally a description. Providing a useful description is a good practice and can help some of the AI features in ContentGrid work better.
- After creating your first entity, you can edit its name or delete it if needed.
Entities, Attributes, and Relations
Entities can have attributes and relationships to other entities.
Add an Attribute
- Within an entity, click Add Attribute.
- A dialog will appear with the following options:
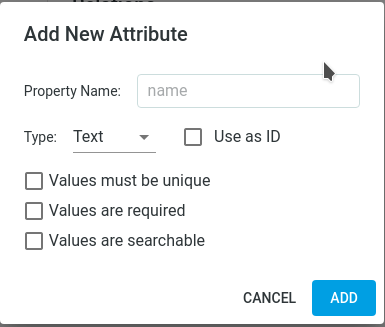
- Property Name: A unique name within the entity.
- Type: The data type for this attribute. Options include:
- Text
- Integer
- Decimal
- Boolean
- Date
- Content (binary object or file)
- Audit Metadata (automatically managed subfields: createdBy, createdAt, modifiedBy, modifiedAt)
- After creating the attribute, you can edit it further:
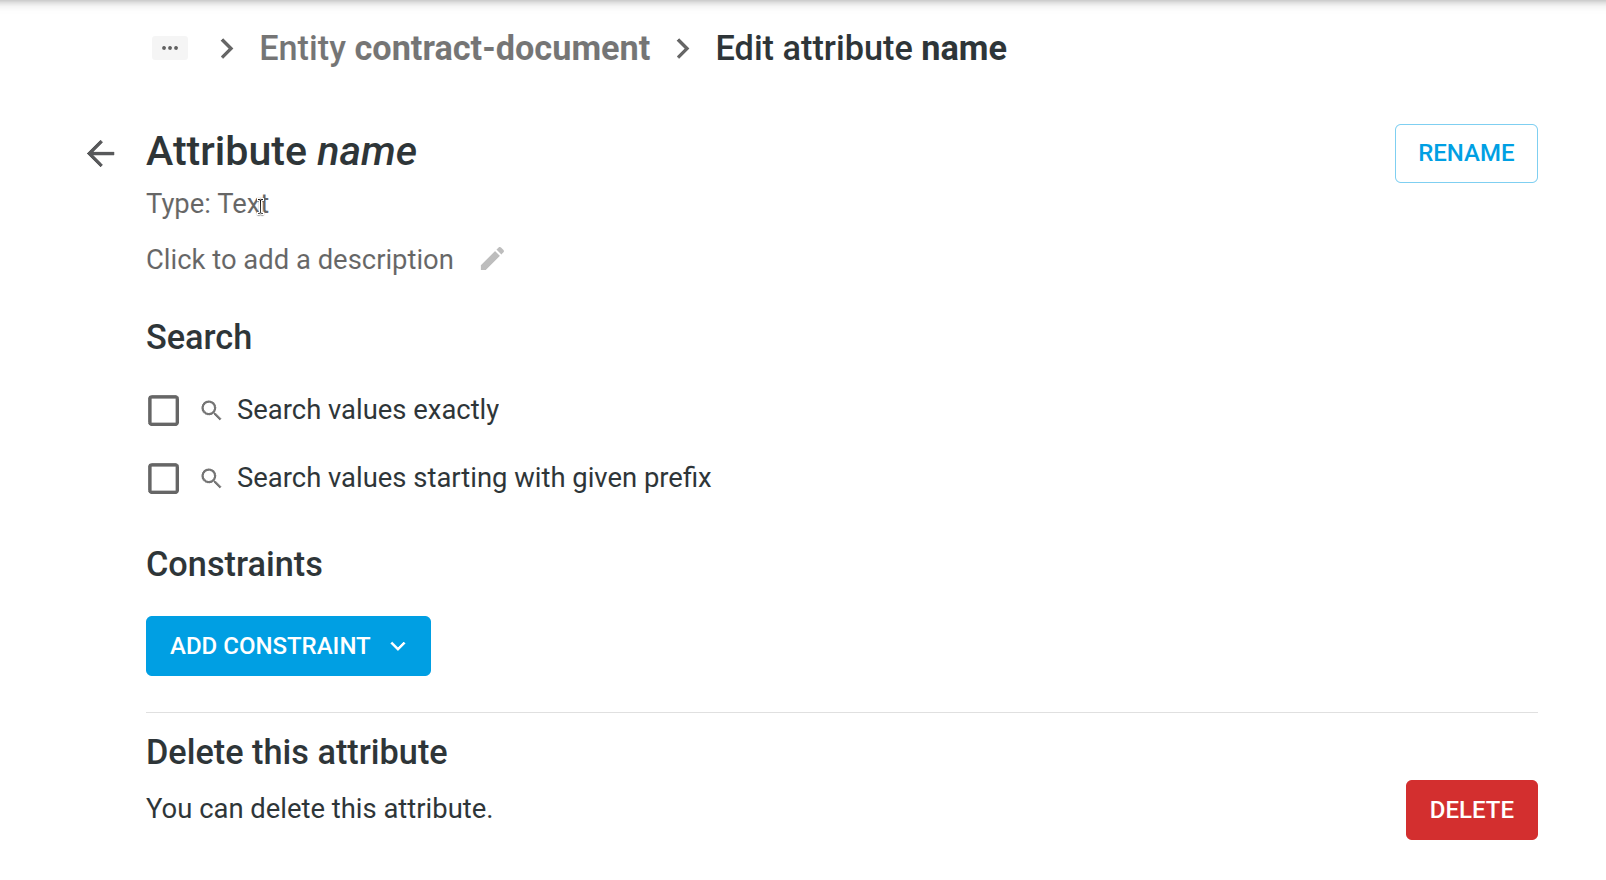
- Name: Rename the attribute.
- Description: Add a description to help users and AI agents.
- Search Options:
- Search values exactly: Values must match exactly when searching (useful for status, category, etc.).
- Search values starting with given prefix: Values can be searched by prefix (case- and accent-insensitive; useful for names, titles, etc.).
- Constraints:
- Value is required: Attribute must have a value for the item to be created.
- Must be unique: Attribute value must be unique across all items.
- Set allowed values: Provide a list of allowed values; only these can be used.
Add a Relation
You can model relationships to other entities (or to the same entity):
- Click Add Relation.
- In the pop-up dialog, configure the following:
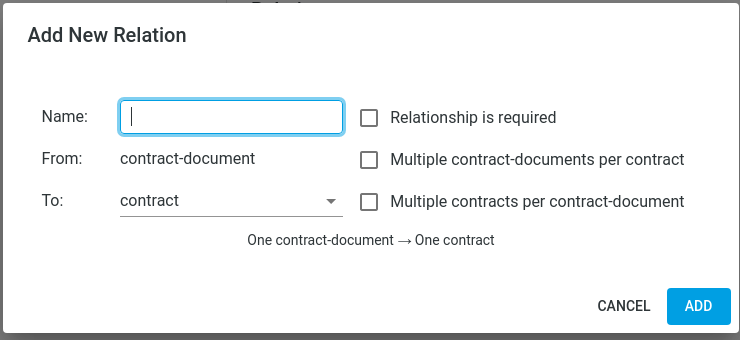
- From: The current entity.
- To: The target entity for the relationship.
- Name: Name of the relationship.
- Description: (Optional) Description for the relationship.
- Cardinality: Cardinality of the relationship (e.g., one-to-one, one-to-many). Choose the checkboxes that apply.
- Relationship is required: Check if this relationship must always exist.