
Getting Started
Get started with Data Modeling
Before creating a data model, you need to create a project.
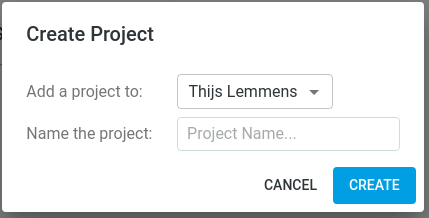
You can do that with the "Create Project" button on the organization page:

In the pop-up dialog you can give your project a name:
Next, you have to select a blueprint to work with:

Data modeling
Now you can start the data modeling by clicking the Data model menu item:
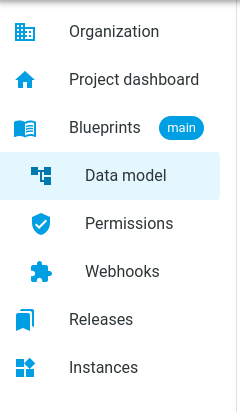
In the Data model tool you can model your business entities.
You start by creating your first "Entity" by clicking the "Add Entity" button and give it a name.
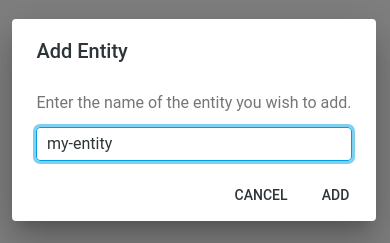
Now that you created your first entity, you’ll see that you can still edit the name of the entity or delete it.
An entity can have attributes and relations to other entities. When you create an attribute in an entity a dialog will pop up with a few options:
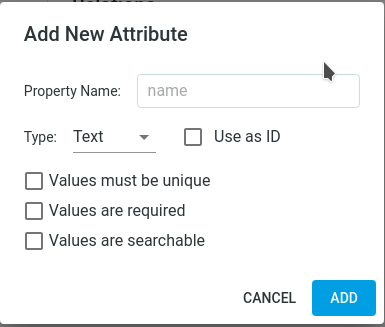
Attribute options:
-
Property Name: A unique name within the entity.
-
Type: The data type for this attribute.
-
Text
-
Integer
-
Decimal
-
Boolean
-
Date
-
Content: Binary object or file
-
-
Use as ID: This checkbox can be checked if you want the value of this attribute to be used as the identifier of the entity. This also means that the attribute must be unique, required and searchable.
-
Values must be unique: When this checkbox is checked, the value for this attribute must be unique. Creating duplicate values will be prevented.
-
Values are required: With this checkbox enabled, adding a value for this attribute is mandatory, otherwise the entity cannot be created.
-
Values are searchable: Enabling this options makes sure that the values are indexed and therefore searchable.
You can also model relationships to other entities, or even to the same entity. To add a new relation to the entity, click the "Add Relation" button, and you will see a pop-up dialog:
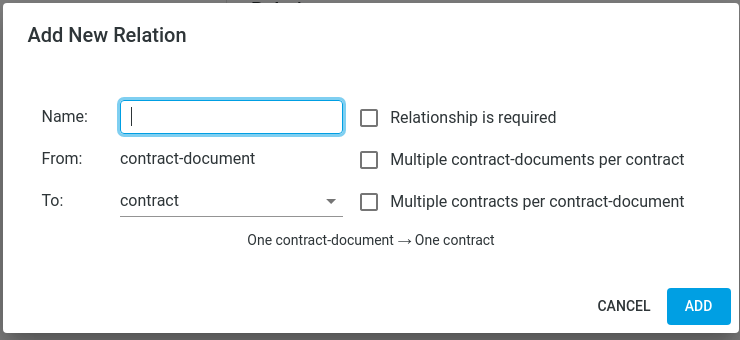
When adding a relation, you have some options to configure:
-
Name: The name of the relationship
-
From: Will be prefilled with the current entity
-
To: Entity where this relationship is going to
-
Checkboxes:
-
Relationship is required
-
2 checkboxes to indicate the cardinality of the relationship
-