Console
Get Started with data modeling
A step-by-step guide on how to create entities, attributes and relations.
Configuration permission policies
Add permissions to entities using policies.
Guide on Webhooks
Act on events using webhooks.
A step-by-step guide on how to create entities, attributes and relations.
Add permissions to entities using policies.
Act on events using webhooks.
This guide will walk you through the initial steps of setting up your organization, creating a project, and starting with data modeling in ContentGrid.
Before you can create a data model, you need to have an organization.
If you already have an organization, you can skip this step.
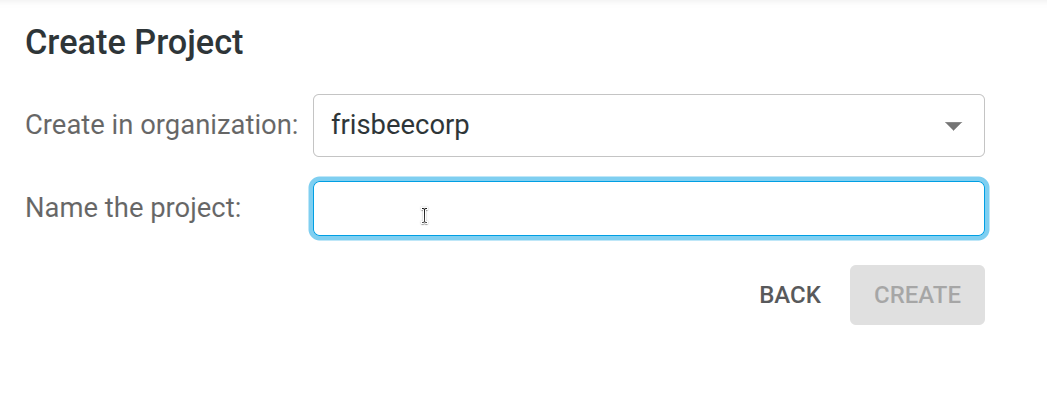
Once your organization is set up:
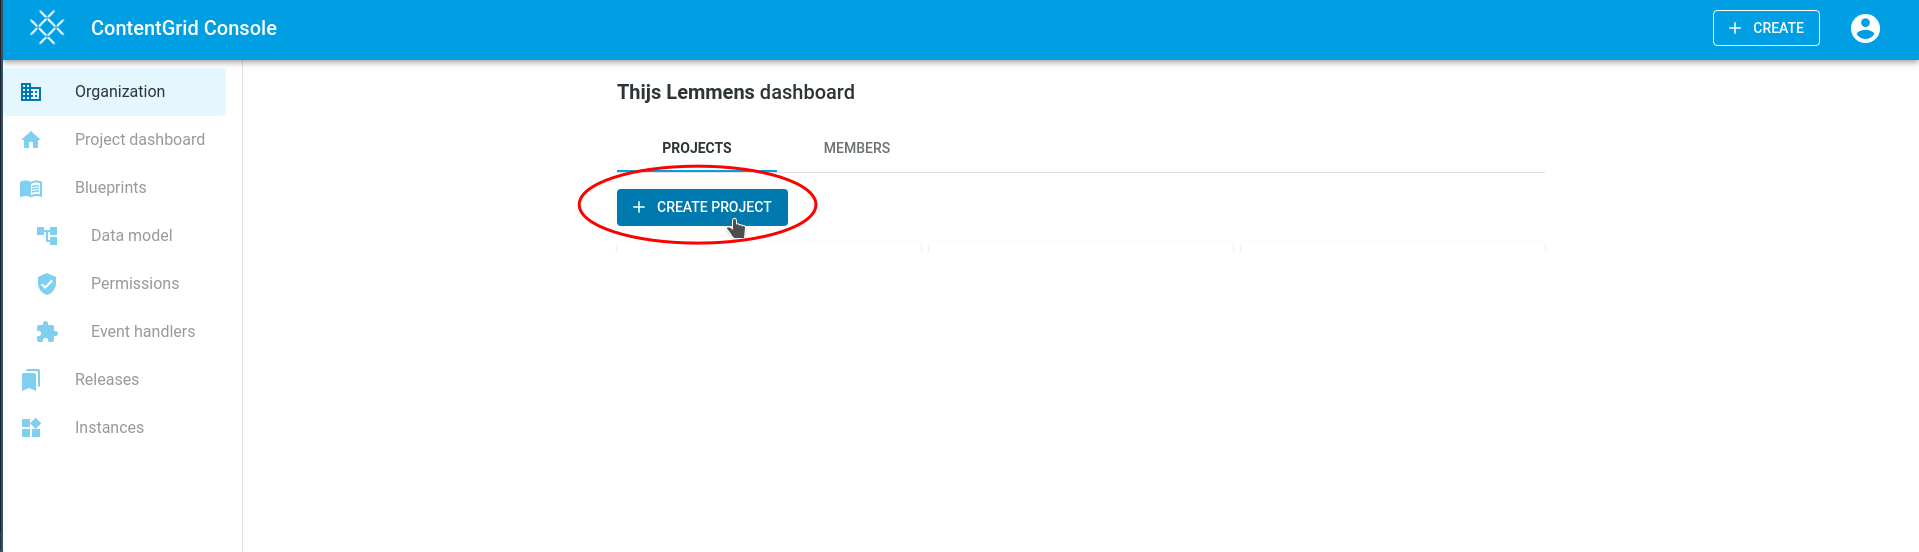
Now you can begin modeling your data:
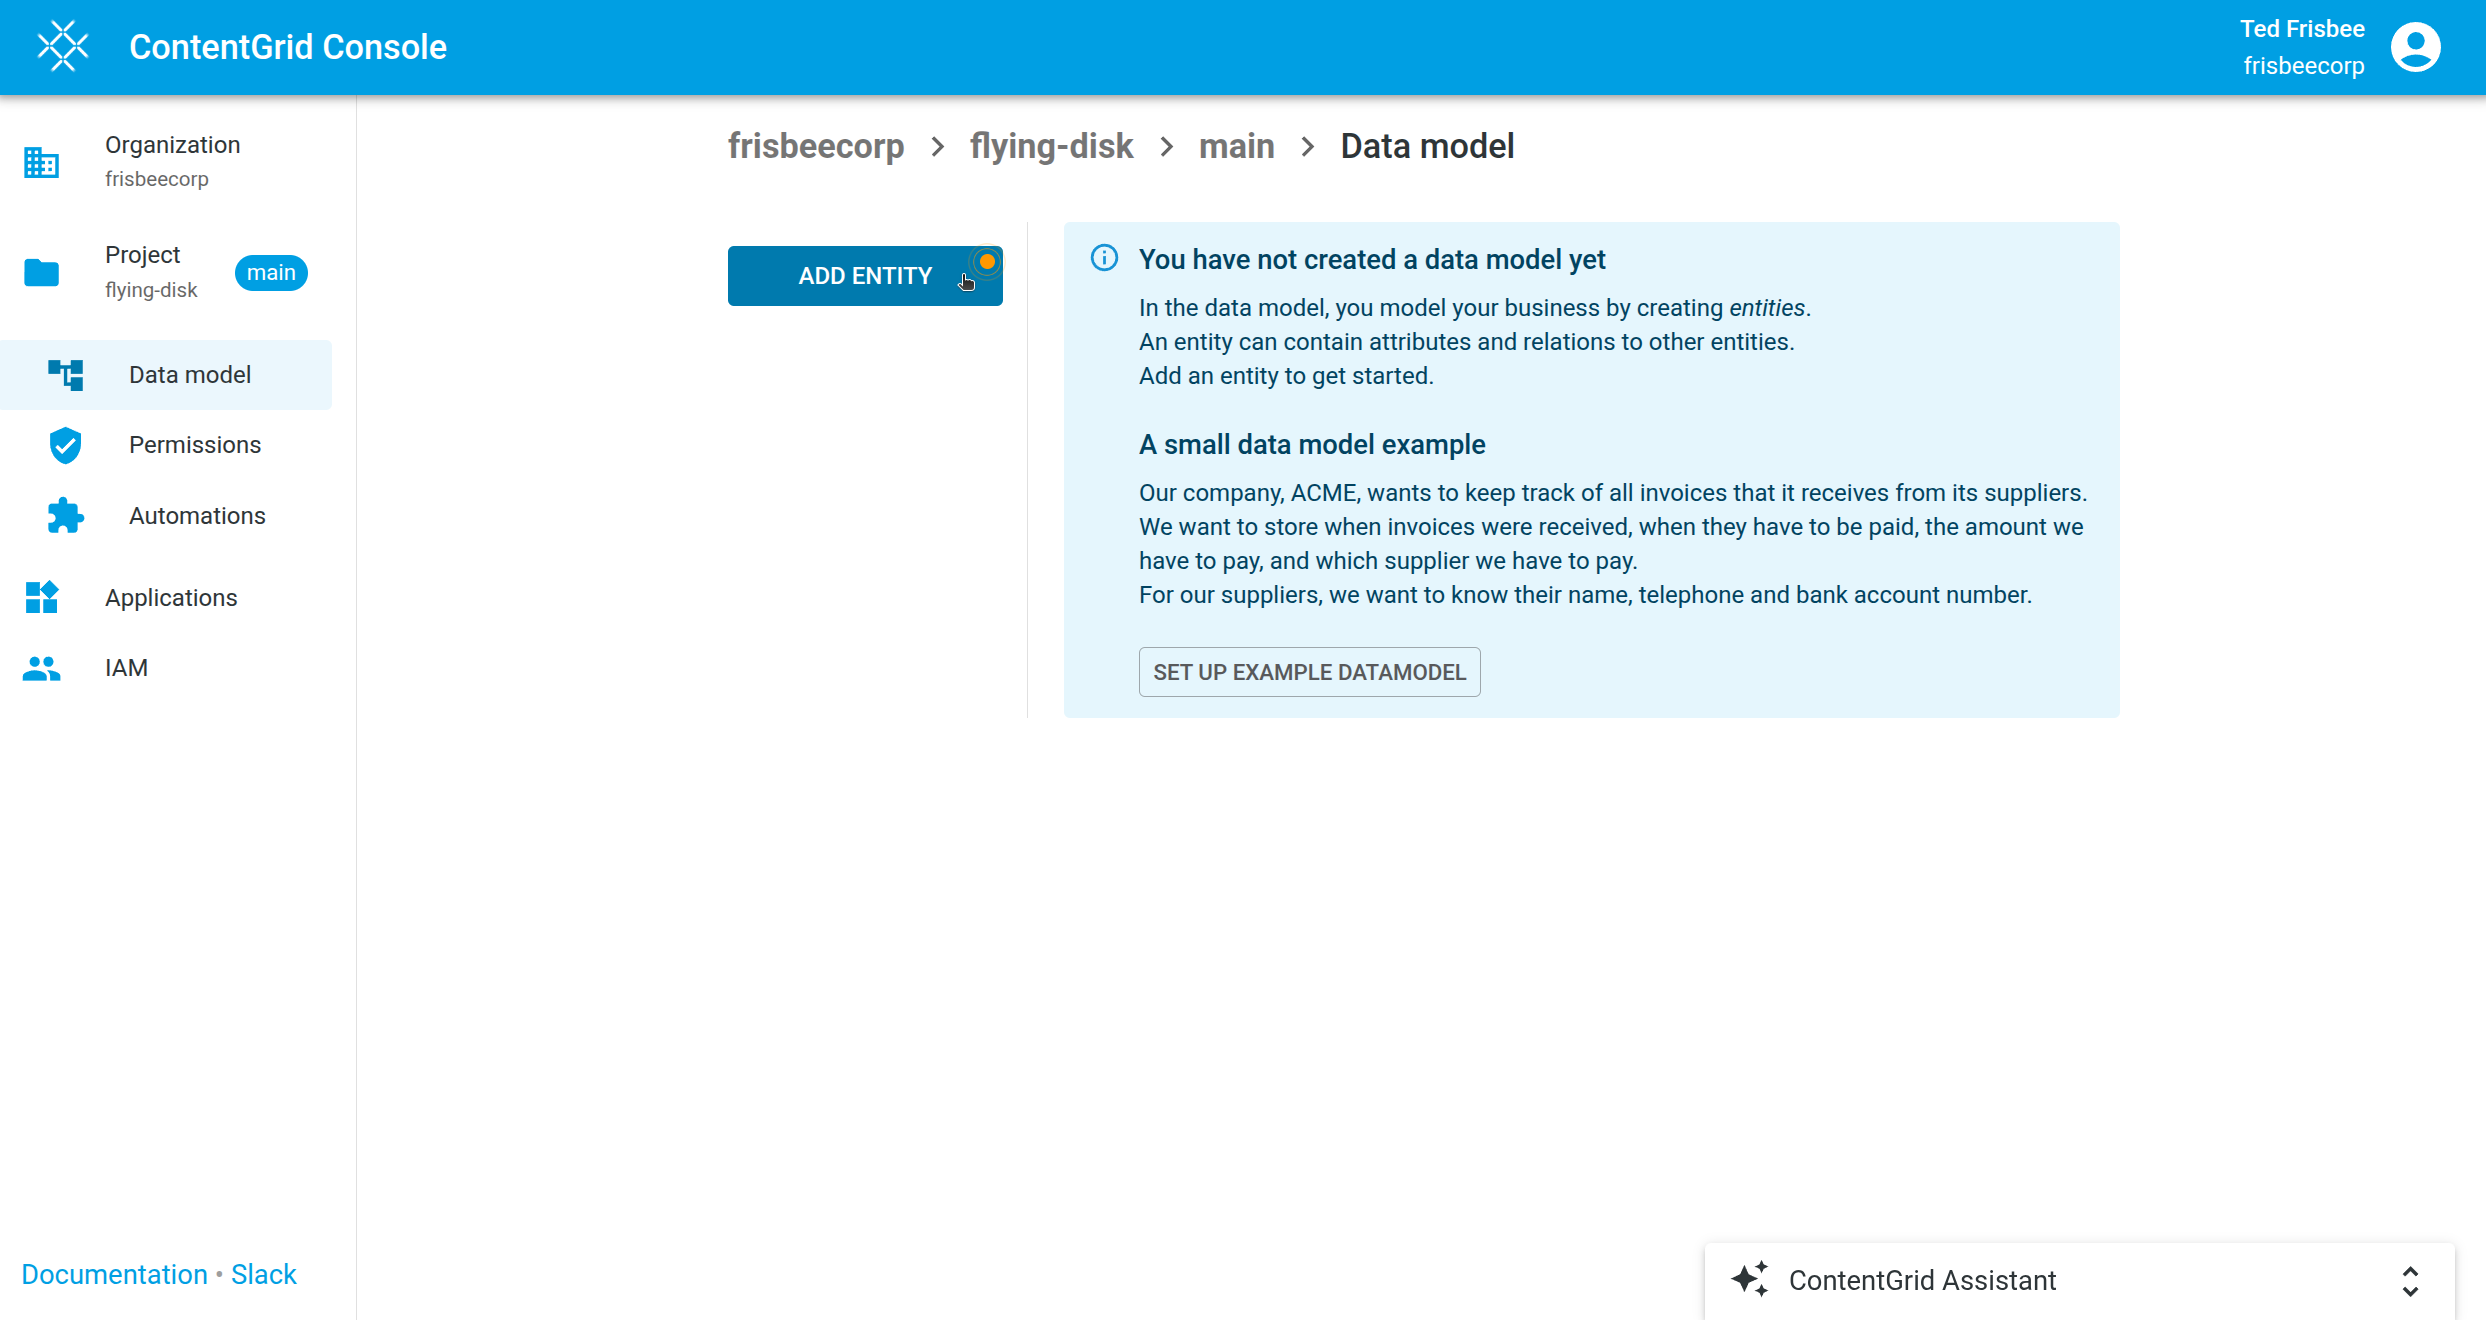
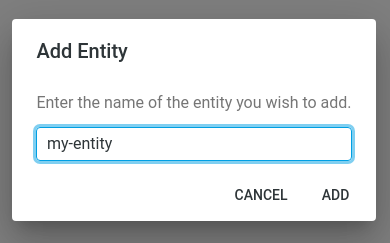
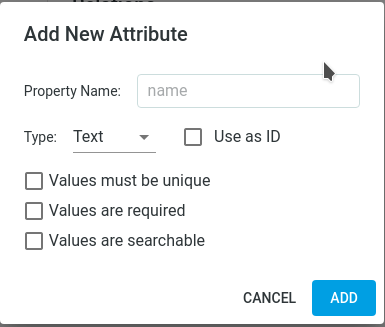
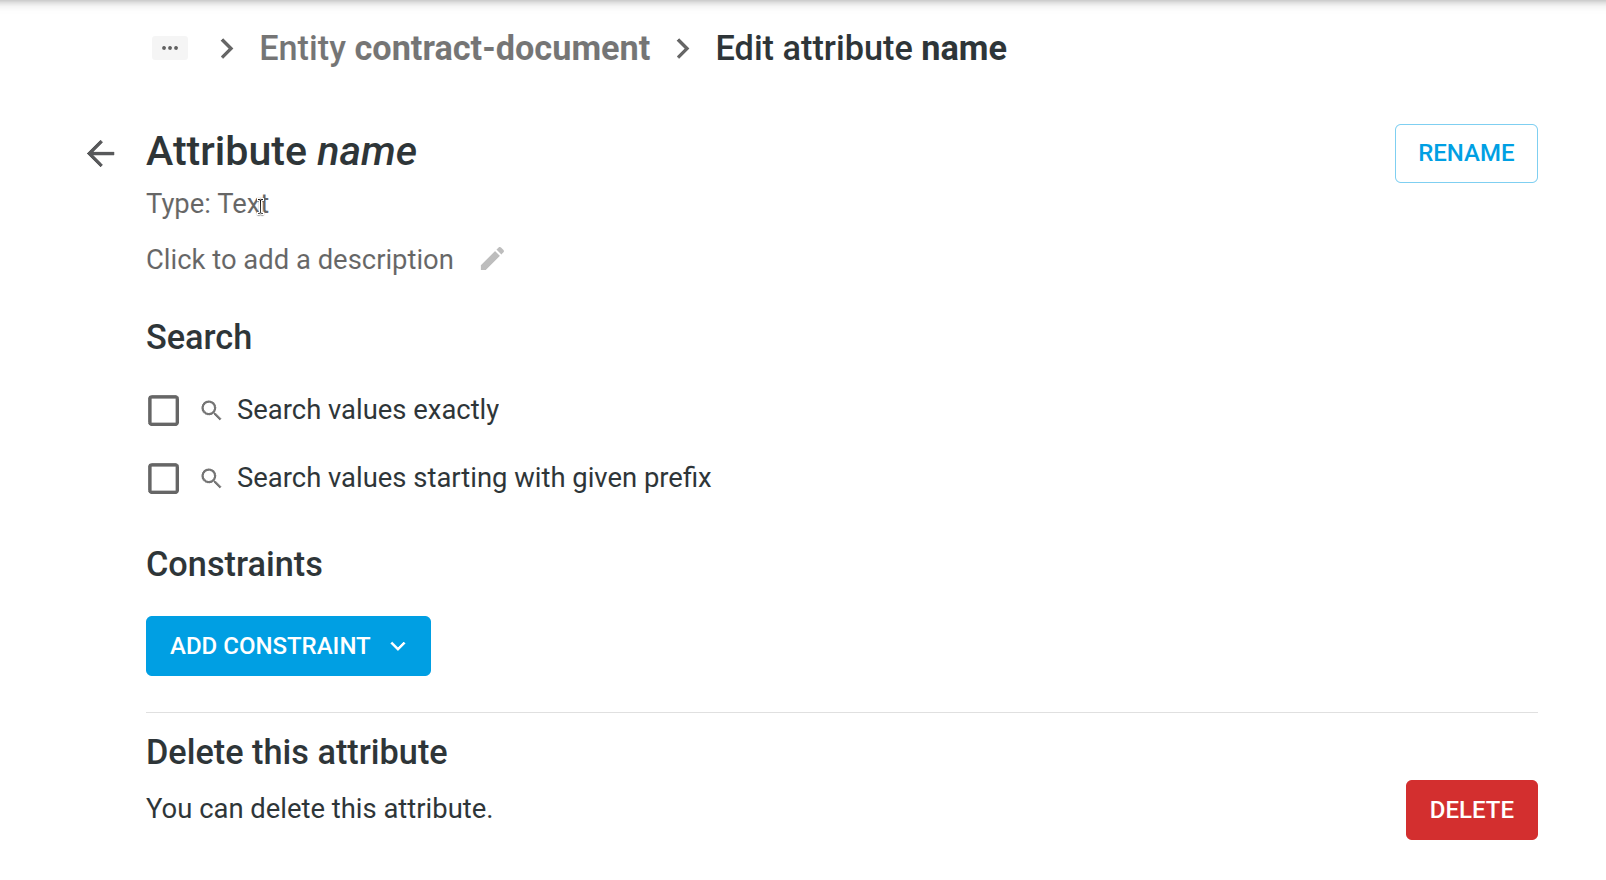
Entities can have attributes and relationships to other entities.
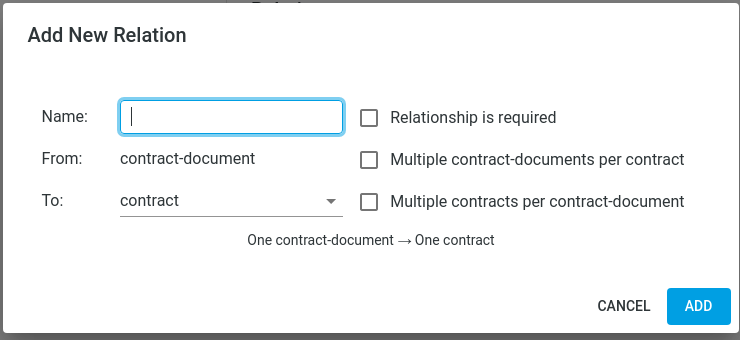
You can model relationships to other entities (or to the same entity):
ContentGrid takes a different approach to permissions than legacy content management systems. Instead of making a complex hierarchical tree structure of permissions with inheritance, a set of permission policies describes access for each entity. These policies are rules that contain logical expressions, making use of (a combination of) entity attributes and user attributes.
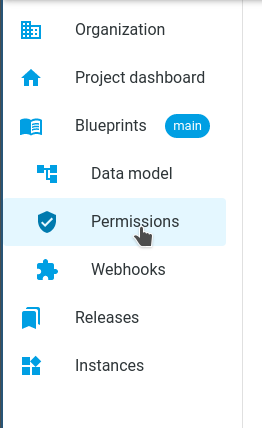
First, go to the Permissions modeler:
To create our first policy, we first have to choose the entity for which we are going to create a policy:
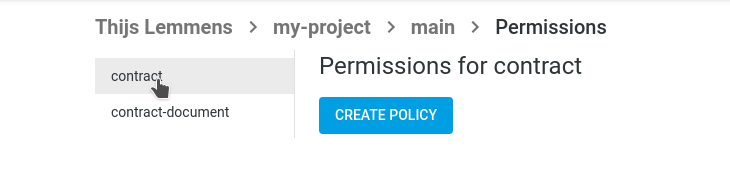
When clicking the “Create Policy” button you will see the configuration options for creating a new policy:
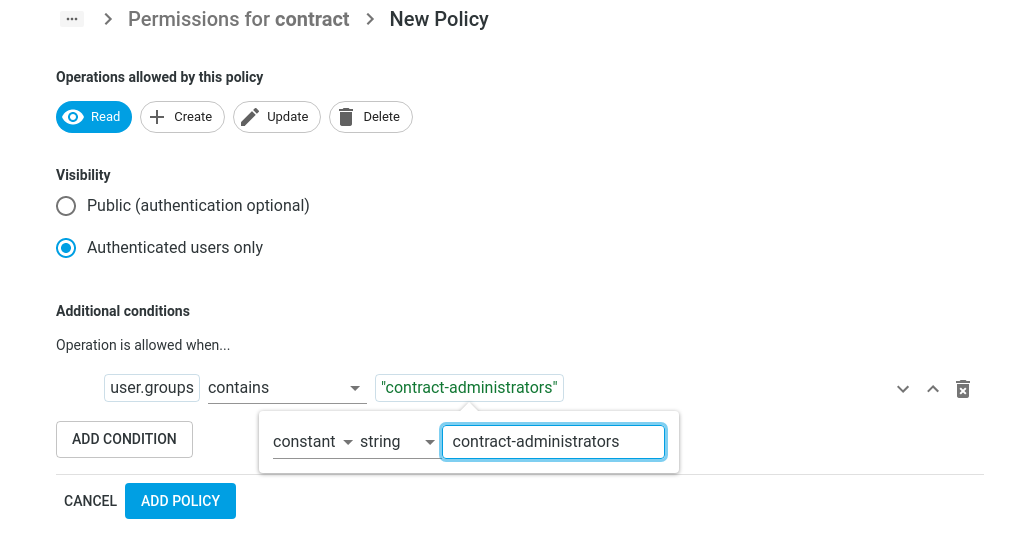
First, you’ll have to choose for which operation this policy will be evaluated. The options are: Read, Create, Update, Delete. You can choose one or more operations.
By choosing the visibility setting, you can define if this policy is applicable for authenticated users only, or for all users.
The “Additional conditions” section is where you define the conditions for this policy, access to the entity is granted when the conditions are fulfilled.
Multiple conditions can be applied, and each rule has a left and a right side, that are compared to each other. Both left and right sides of can be a “user attribute”, “entity attribute” or constant. The possible comparisons between the left and the right side are:
You can add more conditions with the “Add Condition” button. All conditions have to be satisfied before a policy grants access. Save the policy with the “Add Policy” button.
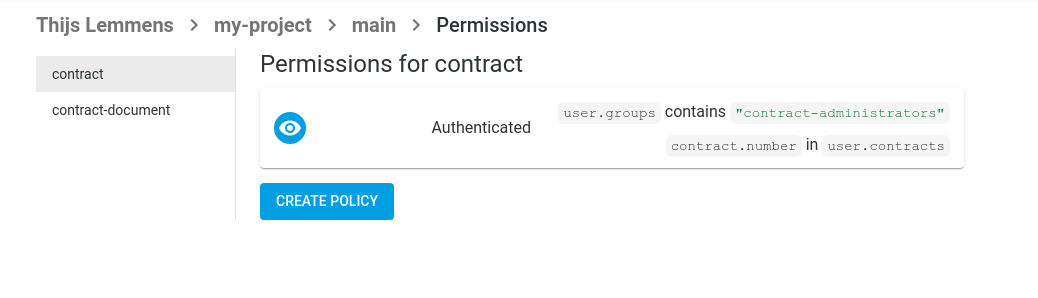
Now, you should see your policy for this entity in the overview.
Webhooks are one way that ContentGrid applications can send automated messages or information to external systems. They are almost always faster than polling, and require less work on your end.
Each mutating operation on an resource is handled individually and is asynchronously, but almost immediately delivered to the configured webhook endpoint.
A ContentGrid Webhook
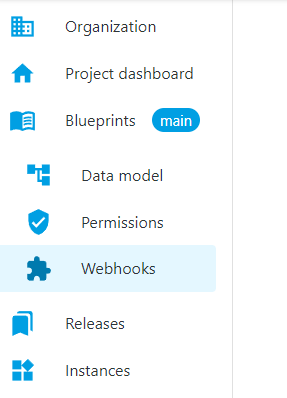
First, go to the Webhooks modeler:
To create our first Webhook, we first have to click on Create Webhook:

When clicking the “Create Webhook” button you will see the configuration options for creating a new Webhook:
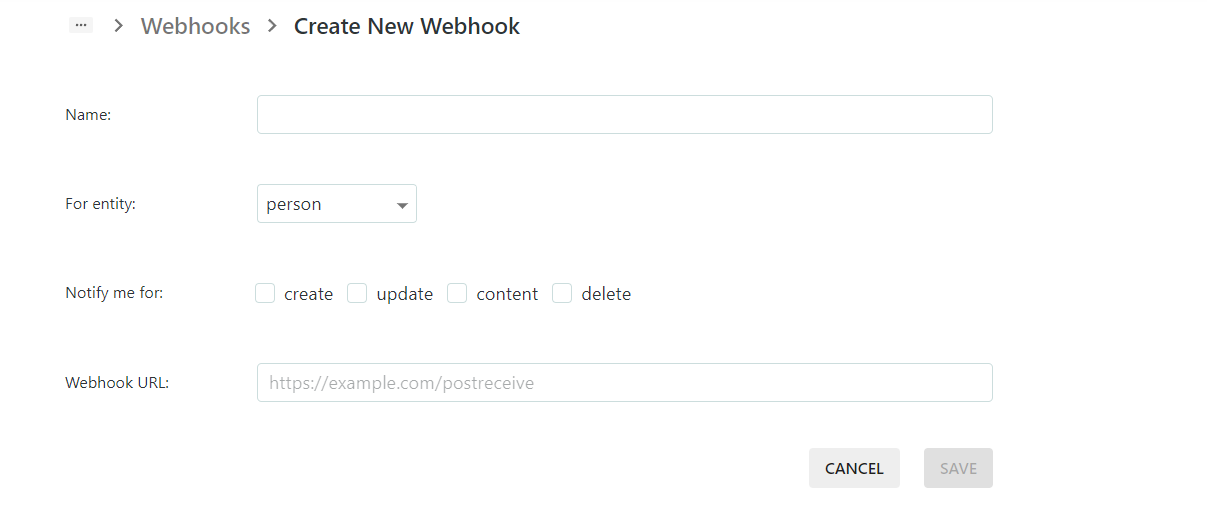
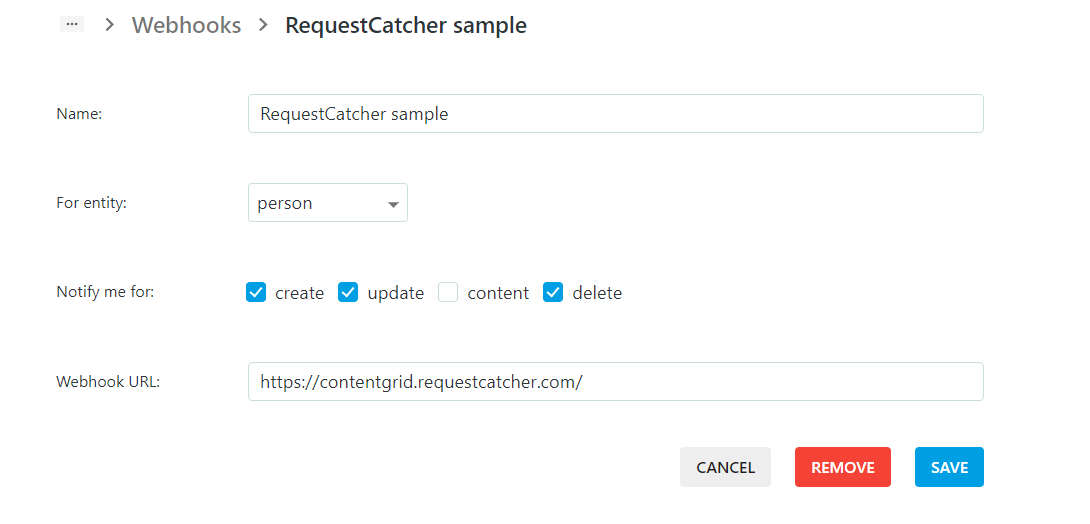
After clicking save, the Webhook is saved and is listed in the overview but will only be available to your ContentGrid runtime application once you create a new release.

You can add more Webhooks with the “Create Webhook” button.
A Webhook endpoint has some specific constraints and must respect the following implementation details:
ContentGrid signs JWTs using asymmetric encryption (RS256), and publishes the public signing keys in a JWKS (JSON Web Key Set).
The signing keys are rotated on a regular basis.
One of the benefits of JSON Web Token (JWT) is that you can validate a token using an easy cryptographic operation.
A JSON Web Key (JWK) is a JSON data structure that represents a cryptographic key. JWKs are a set of keys shared between different services and are used to verify the JWT token from the authorization server.
You should only be validating the received JWT against ContentGrid Json Web Key (JWK) URL which is ${CONTENTGRID_URL}/.well-known/jwks.json
We use JWKS to expose the public keys used by the ContentGrid platform to all the clients required to validate signatures.
For more information you can check the JWK RFC
The example of a JWKS is something that looks like this:
{
  "keys": [
    {
      "use": "sig",
      "kty": "RSA",
      "kid": "UVelusmvyM2xScEu0F_xSNlhelC5jZTD77R_3mmOZXs",
      "alg": "RS256",
      "n": "...yjXzcFpbMJB1fIFam9lQBeXWbTqzJwbuFbspHMsRowa8FaPw44l2C9Q42J3AdQD8CcN...",
      "e": "AQAB"
    },
    {
        ...
    }
  ]
}
In the above example some important fields are
{
  "kid": "UVelusmvyM2xScEu0F_xSNlhelC5jZTD77R_3mmOZXs",
  "alg": "RS256"
}.{
  "aud": "https://webhooks-demo.rtp-scw-sandbox.contentgrid.cloud/broker-process",
  "exp": 1679044765,
  "iat": 1679044465,
  "jti": "df475d5a-fc0e-4fca-a03a-c279e86fe9ed"
}.[Signature]Here is a Java exmaple of how to validate a JWT using JWKs with Nimbus JOSE + JWT
ResourceRetriever jwkSetRetriever = new DefaultResourceRetriever();
JWKSource<SecurityContext> jwkSource = new RemoteJWKSet<>(URI.create("${CONTENTGRID_URL}/.well-known/jwks.json").toURL(), jwkSetRetriever);
JWSKeySelector<SecurityContext> jwsKeySelector = JWSAlgorithmFamilyJWSKeySelector.fromJWKSource(jwkSource);ConfigurableJWTProcessor<SecurityContext> jwtProcessor = new DefaultJWTProcessor<>();
jwtProcessor.setJWSKeySelector(jwsKeySelector);
jwtProcessor.setJWTClaimsSetVerifier((claims, context) -> {
final Date now = new Date();
final Date exp = claims.getExpirationTime();
if (exp != null) {
if (now.after(exp)) {
throw new BadJWTException("expired");
}
}
}); SignedJWT signedJWT = SignedJWT.parse(THE_JWT);
jwtProcessor.process(signedJWT, null);This short guide provides the basic steps required to locally verify an access or ID token signed by ContentGrid. It uses packages from Nimbus JOSE + JWT for key parsing and token validation, but the general principles should apply to any JWT validation library.
Identity and Access Management (IAM) is used to manage users and systems that are allowed to access your ContentGrid applications.
An IAM realm is an isolated authentication environment. Every organization has access to their own IAM realms, which can be configured from IAM management page in the ContentGrid Console.
An IAM realm for your organization will automatically be created when the first application is created.
Multiple applications within the same organization can be connected to the same IAM realm, even across different projects.
The IAM realm authentication is fully separated from the ContentGrid Console authentication mechanisms. To access an application, you will need to create a User in the IAM realm. You can not use your ContentGrid Console user to access any application.
ContentGrid Permission policies make use of attributes to define access rules.
The IAM Attributes for a realm can be configured in the “Attributes” tab. Once an attribute is added, it becomes available for usage in permission policies and can be defined on groups.
To promote reuse and transparency of permissions, attributes are configured on groups, and not directly on users.
An attribute has a name, a data type and can be single- or multi-valued.
If you want to write a permission that allows access to admins, you could define an single-valued attribute named admin of type boolean.
You can then create a group which sets this attribute to true, and add all your admin users in this group
If you want to write a permission that only allows people to see documents belonging to their departments, you can define a multi-valued attribute named departments of type string.
You can then create separate groups for every department and set the departments attribute for each group.
Afterwards, add users to their correct department group(s).
Users are the people that are allowed to log in and interact with Applications.
A user is identified by their email address (which is also used as the username).
When creating a user, an email address, a first and last name must be provided. Unless disabled, an automatic email is sent to the user to set up their password.
To maintain traceability of all actions that are performed on ContentGrid applications, it is not possible to delete a user account. Instead, a user account can be deactivated so they can no longer log in.
After creation, a user can be made member of one or more groups, so they can inherit the attributes from the groups.
Groups allow you to organize Users and Service accounts based on shared characteristics.
Groups themselves do not participate directly in permissions. The attributes defined on a group are inherited by all users and service accounts that are a group member.
A service account is a non-human principal that is used to allow programmatic integrations with the Application REST API.
A service account is a type of OAuth2 Client, they can be configured in the “Clients” tab.
Note that the secret for a client is only shown once during creation, or when rotating a secret.
Instead of using a username and password, a service account uses OAuth2 Client Credentials to obtain an access token for the application API.